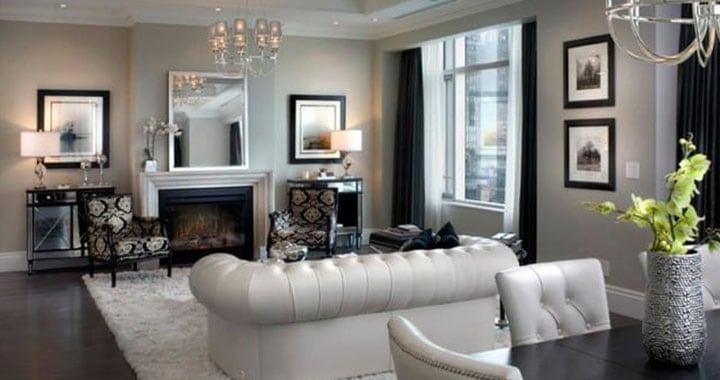
Listing photos are at minimum, EXTREMELY important and at most, one of the most important things you do to truly represent your seller well!
Photos of your listing are crucial when selling a home and presenting it online to potential suitors. The New York Times recently featured several suggestions from professional stagers and interior photographers on how to achieve a picture-perfect home, including: Trim the belongings. “Instead of having lots of little things along a countertop or table, have one bold vessel or large plant, or a trio of objects that read as one whole,” says Laure Joliet, a photographer based in Los Angeles. “This helps anchor the photo and keeps the space feeling serene.” Keep plants and knick-knacks away from windowsills and off the piano top or coffee tables. In the kitchen, clear away all the refrigerator magnets, paper towels, and majority of small appliances. Before taking a photo in the bathroom, open the shower curtain, close the toilet lid, and remove all toiletries from counters. Keep everything clutter-free. Harness the light. Wash the windows and open the curtains or pull up the blinds, suggests photographers in The New York Times’ article. “Natural light allows for depth in the shadows and highlights in the window, which makes a room look the way it feels,” Joliet says. “It can make your real estate photos look that much more high-end and designed.” Add in some pops of color. Accents like colorful flowers or a throw pillow can help enhance the photos. “Instead of a fussy bouquet, a vase filled with one type of flower, or greens is best,” Joliet says. She recommends eucalyptus branches. To drape a throw: Grab the middle of the blanket and hold it up so that it cascades evenly down. Place it diagonally at the foot of the bed “with the point up toward the long side of the bed and the fringes hanging slightly off the front,” says Donna M. Dazzo, president of Designed to Appeal, a home-staging firm. To drape it over an armchair, tuck the bottom behind a throw pillow or allow the throw to cascade off the arm, she says.

Hang artwork lower. “We tend to place our art a little bit lower than maybe somebody would in personal use, because in a photo, if you place it too high, the ceiling looks very low,” David C. Salvatore, creative director for Edge Mid-Century Designs in Clifton, N.J., told The New York Times. “Everyone loves high ceilings—and certainly, if you have the ceilings, you need to put in a huge vertical piece” to make sure you show the height.” Focus on curb appeal: Prune overgrown trees, particularly those that are obscuring the view of the house in any way, Alberto Lau, a real estate photographer in San Diego, told The New York Times. “Take the cover off the barbecue grill unless it is hopelessly rusty, in which case it’s better to move it [out of] the frame of the photo,” he says. Keep any cars away from the front of the house or driveway (place cones or signs, if necessary, to keep others away from parking in the front the day you shoot). Make sure the leaves are raked and trash bins are hidden from view. Source: “9 Ways to Make Your Home More Photogenic,” The New York Times (April 14, 2017)
